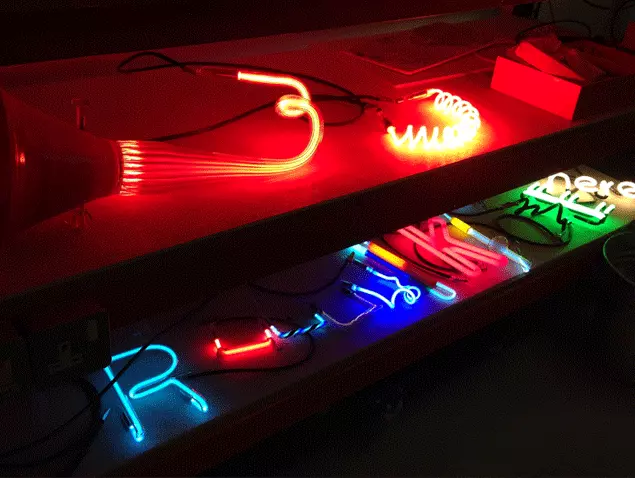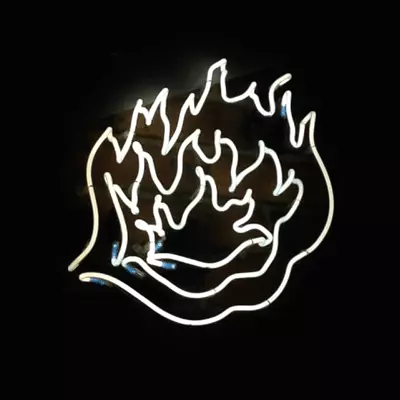
Last week I posted my first instalment in this month’s Artist of the Month series, featuring Neon Workshops. In this second part I’ll be showing you their work and explaining how they create these bright neon designs
At the moment Richard is exhibiting his latest work; Beautiful Hazards in the Neon Workshops gallery space. The exhibition concentrates on Richard’s interest with industrial hazard graphics and features both neon and mixed media.
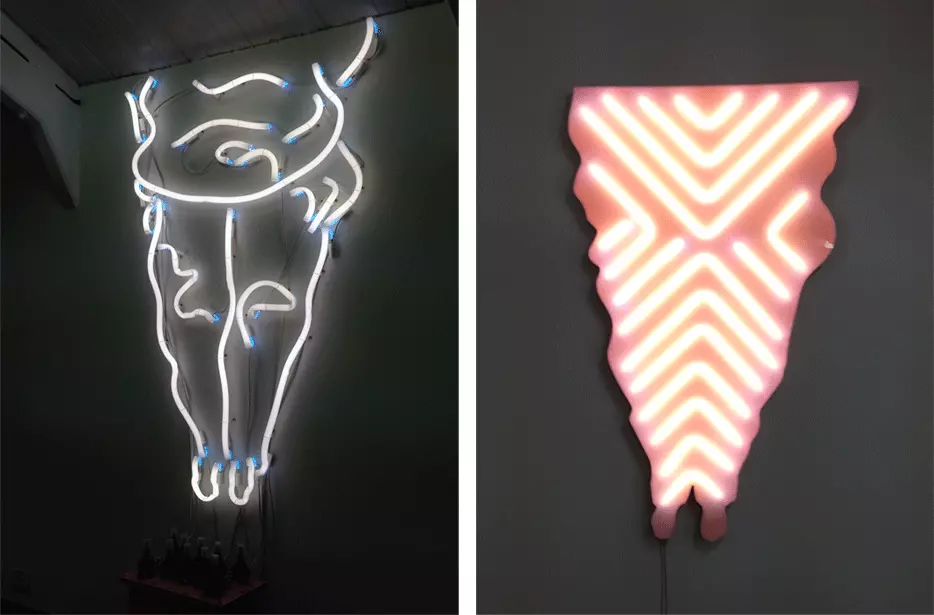
The exhibition runs until 15th March, so you still have time to catch this great work.
There is a lot of time, effort and skill that goes into creating these pieces, along with a little touch of alchemy to add to the effect. Once a design has been decided, the real hard work begins. Shaping and cutting the glass over 800 degree heat is no mean feat, especially when there are no gloves! Then you have to carefully blow into the glass tube to stop it from buckling under the heat, but don’t inhale, otherwise your design will become deflated and imploding!
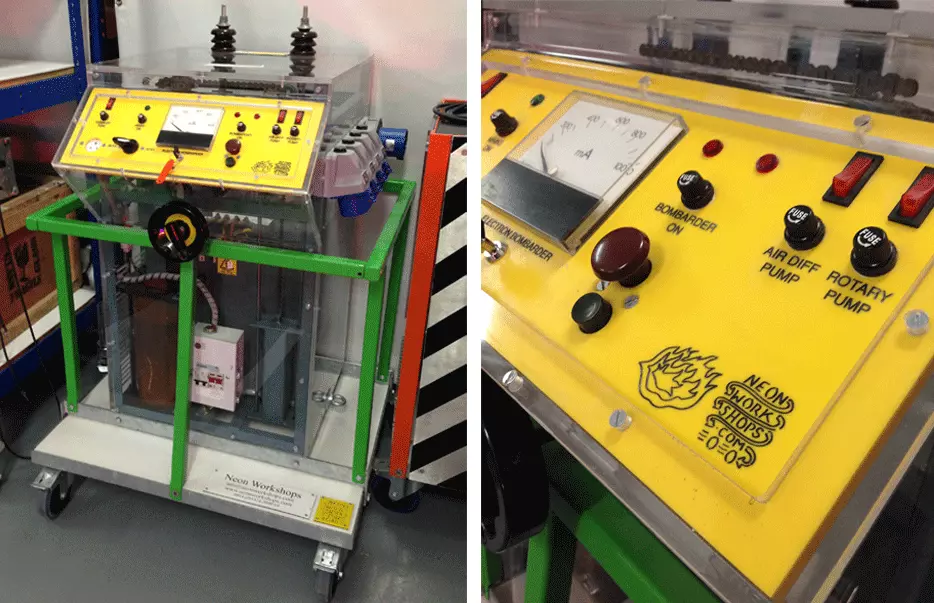
Next comes the fusing, where the electrodes are fused onto the ends of the neon, and to do this you need an electron bombarder, a machine that uses 20,000 volts to pump helium into the neon, creating a vacuum so you can then add your choice of gas depending on what colour you’d like your design to be. To begin with all neon lights emit an orange light…
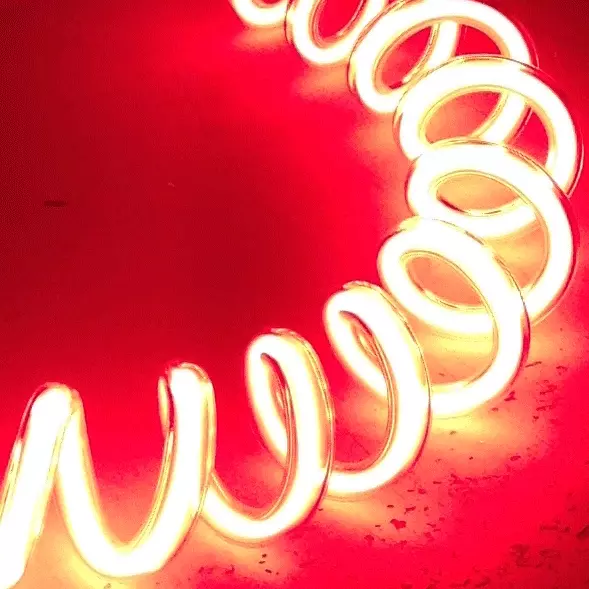
and by adding different chemicals and gases other colours are created; adding hydrogen will give you red and a touch of mercury will give you a beautiful blue hue.
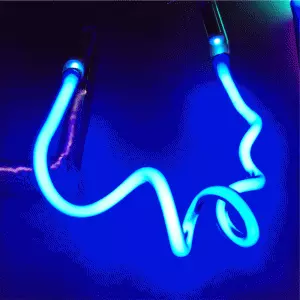
The list of colours and designs are endless, and with a little bot of imagination, there is nothing you can’t create with neon.
